 ultimate-guide
Earthquake Emergency Kit: 2026 Guide
Table of Contents
- Earthquake Emergency Kit: Building Your Lifeline
- Essential Components of a 72-Hour Emergency Kit Checklist
- Emergency Go Bag Essentials for Quick Evacuation
- How to Store Emergency Water Safely
- Comparison: Pre-Made Kits vs. DIY Assembly
- Maintenance and Rotation Schedule
- Beyond the Basics: Digital Preparedness and Mental Health
- Conclusion
- Frequently Asked Questions
Last Updated: September 21, 2026
Earthquake Emergency Kit: Building Your Lifeline
An earthquake emergency kit is a pre-assembled collection of life-sustaining supplies designed to keep you and your household self-sufficient for at least 72 hours after a seismic event. The Ready.gov earthquake safety guidance is blunt about the reality: you may be without power, water, and help for days. Below, we break down exactly what goes in your earthquake emergency kit, how to store it, and how to keep it ready without overspending.
Essential Components of a 72-Hour Emergency Kit Checklist
A complete 72-hour emergency kit checklist covers five categories: water, food, first aid, shelter and warmth, and sanitation. The federal baseline is one gallon of water per person per day and enough non-perishable food to last three days, but the checklist only works if you assemble it before you need it. What most guides skip is the why behind each number and the how much behind each item, so you can scale the kit to your household instead of guessing.
Water and Food Supplies
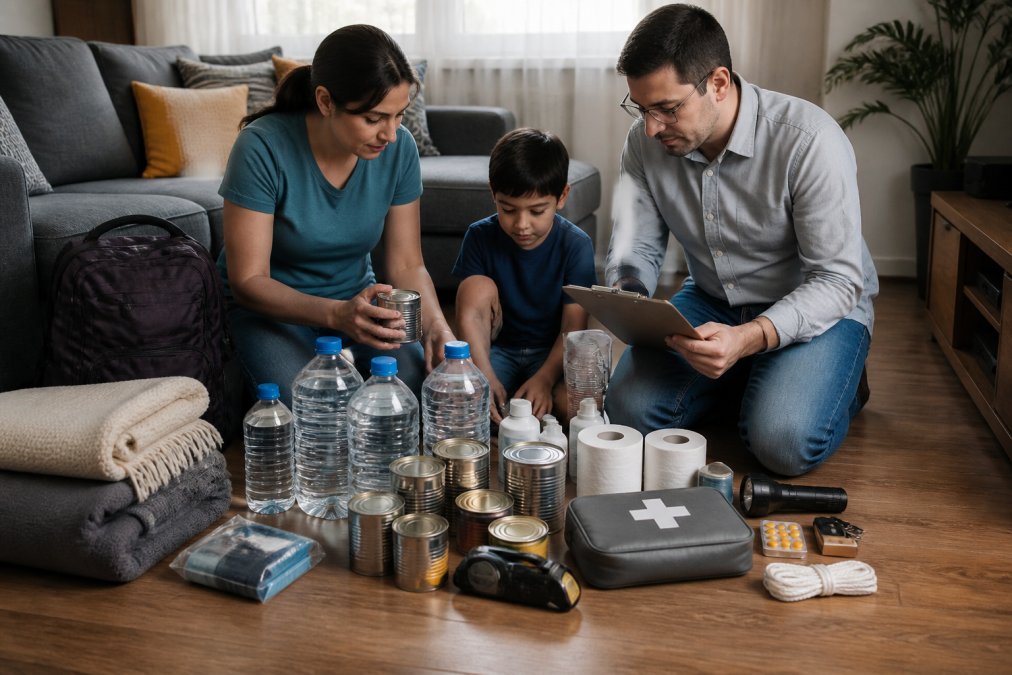
Water is the first thing to disappear from store shelves and the first thing your body needs. Store one gallon per person per day for drinking and basic hygiene, plus extra for pets. That gallon splits roughly into two quarts for drinking and two quarts for food preparation and minimal sanitation, you are not washing dishes or showering on this ration.
First Aid and Medical Needs
Your first aid supplies should match your household, not a generic list. A basic kit needs sterile gauze, adhesive bandages, antiseptic wipes, medical tape, scissors, tweezers, and disposable gloves. Add a seven-day supply of any prescription medication, plus a written list of dosages and the prescribing doctor's name, pharmacies may be closed or out of network after a quake, and a written list lets any responder or pharmacist help you.
Sanitation and Hygiene
Sanitation is the category most kits under-pack, and it is the one that prevents illness from spreading when plumbing fails. Pack one roll of toilet paper per person, a small bottle of unscented bleach with a dropper (for disinfecting water and surfaces), heavy-duty garbage bags, moist towelettes, hand sanitizer, and a bucket with a lid that can double as a makeshift toilet.
Shelter, Warmth, and Tools
An emergency blanket, a compact tarp, and a multi-tool cover most shelter and repair needs. Add a dust mask for each person, collapsed structures release fine debris, and a mask protects your lungs during evacuation. A whistle, a wrench for shutting off gas, and a fire extinguisher round out the tool kit. Store the wrench near the gas meter, not buried in the kit, so you can reach it in seconds.
Emergency Go Bag Essentials for Quick Evacuation
Emergency go bag essentials are the lightweight, portable version of your home kit, packed so you can grab one bag and leave in under a minute. The difference between a stay-at-home kit and a go-bag is mobility, so weight matters more than completeness.
Lighting, Communication, and Power
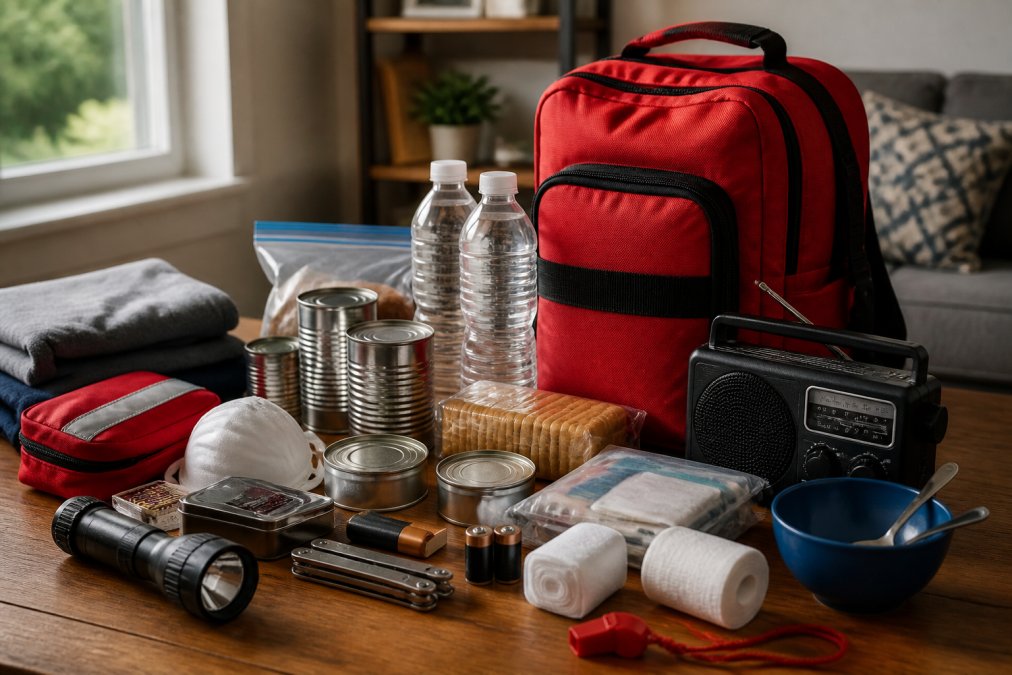
Pack a battery-powered or hand-crank flashlight and a NOAA weather radio, since cell networks often fail after a quake. A hand-crank radio doubles as a phone charger on some models. Include a whistle to signal for help if you're trapped; three short blasts is the universal distress signal used by search and rescue teams.
Shelter, Warmth, and Tools
An emergency blanket, a compact tarp, and a multi-tool cover most shelter and repair needs. Add a dust mask for each person. Collapsed structures release fine debris, and a mask protects your lungs during evacuation.
How to Store Emergency Water Safely
Storing emergency water safely means using food-grade containers, keeping them out of sunlight, and rotating the supply before it goes stale. Commercially sealed water lasts longest; if you fill your own containers, use only food-grade plastic and replace the water on a set schedule.
- Keep containers in a cool, dark place away from chemicals and gasoline
- Label each container with the date you stored it
- Never store water in containers that held milk or juice; residue feeds bacteria
- Rotate stored water every six months as part of your maintenance routine
Comparison: Pre-Made Kits vs. DIY Assembly
Pre-made kits win on speed and completeness; DIY assembly wins on cost control and customization. Neither is universally better, so the right choice depends on your budget, household size, and how much time you'll realistically spend sourcing items. What most guides never do is put real numbers on the trade-off.
| Factor | Pre-Made Kit | DIY Assembly |
|---|---|---|
| Upfront cost | Higher per item | Lower per item |
| Time to assemble | Minutes | Hours to days |
| Customization | Limited | Full control |
| Quality control | Varies by seller | You choose every item |
| Best for | Busy households, beginners | Tight budgets, specific needs |
Budget Tiers: What You Actually Get
A pre-made 72-hour kit for one person typically covers the federal baseline: water pouches, a few food bars, a basic first aid pouch, an emergency blanket, a whistle, and a small flashlight. The trade-off is volume, most starter kits skimp on water and food quality, so plan to top them up. A DIY starter kit can buy more water and better food but may cost you a weekend of sourcing.
The Hybrid Approach Most Families Should Use
For most families, a hybrid works best: buy a pre-made kit as your foundation, then add the prescription medications, pet supplies, and comfort items a generic kit never includes. This gets you to a working kit in an afternoon, then lets you upgrade over months as budget allows. A practical sequence: buy the starter kit first, add water and food within the first month, then add sanitation and tools within the first quarter.
Maintenance and Rotation Schedule
A kit you never check is a kit that fails. Set two calendar reminders per year, ideally when daylight saving time changes, and use them to inspect, rotate, and replace.
- Check expiration dates on food, water, and medications
- Test flashlights, radios, and any battery-powered devices
- Replace batteries whether or not they seem dead
- Update emergency contact lists and copies of documents
- Re-check clothing sizes for growing children
- Restock anything you borrowed from the kit during the year
Beyond the Basics: Digital Preparedness and Mental Health
The items competitors skip are the ones that matter most in the days after a quake: your mental state and your digital footprint. Psychological first aid is the practice of stabilizing yourself and others emotionally during and after a crisis, and it belongs in your preparedness plan alongside bandages and water.
Conclusion
Building a real earthquake emergency kit is less about buying gear and more about building a habit. The families who come through a disaster best are the ones who planned, rotated, and practiced before the shaking started.
Frequently Asked Questions
What should be in an earthquake emergency kit?
A complete earthquake emergency kit includes at least one gallon of water per person per day for three days, non-perishable food, a battery-powered or hand-crank NOAA weather radio, flashlight, first aid supplies, dust mask, whistle, multi-tool, emergency blanket, sanitation items, and copies of important documents. Pack supplies in a portable go-bag and a larger stay-at-home kit. Rotate food and water every six months.
How many days of supplies should be in an earthquake kit?
FEMA recommends at least a 72-hour supply, but for earthquakes, experts suggest a minimum of seven to ten days. Earthquakes can disrupt infrastructure for weeks, and search and rescue teams may not reach you immediately. Store one gallon of water per person per day, enough non-perishable food, and medications for the extended period. A 72-hour emergency kit checklist is a good starting point, but expand it as your budget allows.
Are pre-made earthquake kits better than DIY kits?
Pre-made kits save time and ensure you have essential items, but they often include low-quality gear. DIY kits let you customize based on your family's needs, including medications, pet supplies, and comfort items. Many people combine both: buy a pre-made kit as a base, then add personal items. Check expiration dates and replace items as needed. The best kit is one you actually maintain.
How often should you check and rotate supplies in your earthquake kit?
Check your kit every six months. Replace expired food, water, and medications. Test flashlights and radios, and replace batteries. Update emergency contact lists and copies of documents. A good reminder is to rotate supplies when you change your clocks for daylight saving time. Mark expiration dates on a calendar and keep a rotation schedule to ensure nothing is expired when you need it.
What is the difference between a go-bag and a home emergency kit?
A go-bag is a portable kit designed for quick evacuation, typically stored in a backpack or duffel. It contains essentials for 72 hours: water, food, first aid, radio, flashlight, and documents. A home emergency kit is larger and meant to sustain you if you shelter in place. It includes more water, food, tools, and comfort items. Both are important for earthquake preparedness.
What specific items are needed for earthquake preparedness beyond food and water?
Beyond food and water, include a dust mask to filter debris, work gloves, sturdy shoes, a whistle to signal for help, a multi-tool, and a manual can opener. Add a battery-powered or hand-crank NOAA weather radio for alerts, a flashlight, and a power bank. Include sanitation supplies like moist towelettes and garbage bags. Also pack copies of important documents, cash, and a first aid kit with any personal medications.